
After signing up for Easelly Pro, you can make an infographic from our extensive library of infographic templates. Or maybe you’re a bold explorer, and you’re ready to make your own infographic from scratch.
Sure, you can throw a few text blocks and shapes together, but how do you know when your infographic is ready to rock?
Make your infographic stand out with this complete infographic checklist
Our infographic designers have made the complete infographic checklist below for your next infographic creation adventures with our infographic maker tool.
As you create your infographic, whether from a template or from scratch, you can check off each of these points along the way. Feel free to download and print out the infographic below. You can also use this PDF version here.

Part 1: Infographic creation
As you get started with the building blocks of your infographic, use this checklist:
Does your template relay your message?
If not, choose a new template that better outlines your message.
For example, a timeline infographic template is ideal for highlighting history while a flow chart template helps showcase how multiple situations can reach the same conclusion.
Learn about the different types of infographics to help you decide on the right template for your infographic.
Is it a similar design/color to what you use in your web copy or content?
- If so, keep “on brand” with the right colors and fonts.
- If no, pick a new template or edit your infographic colors.
Did you search for the right objects, shapes, icons? Did you upload images that represent your ideas?
- If so, make sure they are sized, cropped, and edited properly.
- If not, make sure to use the right icons and shapes — infographics are visual content!
Did you choose visually dynamic, coordinating fonts?
An effective infographic employs fonts that are readable rather than decorative.
- If so, keep the fonts consistent (use only 2 -3 fonts).
- If not, play with the fonts until they look better in terms of readability.
Watch the short video tutorial below to learn more about choosing fonts for your infographics.
Does the size of your infographic fit all of your visual elements and text?
If not, drag the lower right corner to resize width or length-wise.
Part 2: Checking for quality
Are your text boxes the same size (or coordinating sizes)?
Also, check your image sizes.
Are your colors consistent?
Here’s a short tutorial video on how to decide on your infographic color scheme.
Are smaller objects, lines, or designs lined up properly?
This is where you separate yourself from the crowd. Make a great infographic that pays attention to small details and be rewarded by shares and audience growth.
Part 3: Review before you download your infographic
Have you previewed your infographic in web browser?
If not, save your infographic and use the View in Browser feature. This will show you how it appears to everyone else once you share it.
Next, do a spell check. Finally, check numbers, punctuation, bullet points, etc.

Most importantly: Does it look good?
- If so, click Download or Share and get to it!
- If not, review the checklist again.
Part 4: Post-creation final check
Now that you’ve designed, created, and triple-checked your infographic, it’s time to download!
You have a few options when downloading with Easelly, and which one you choose depends on where you’re planning on sharing the infographic.
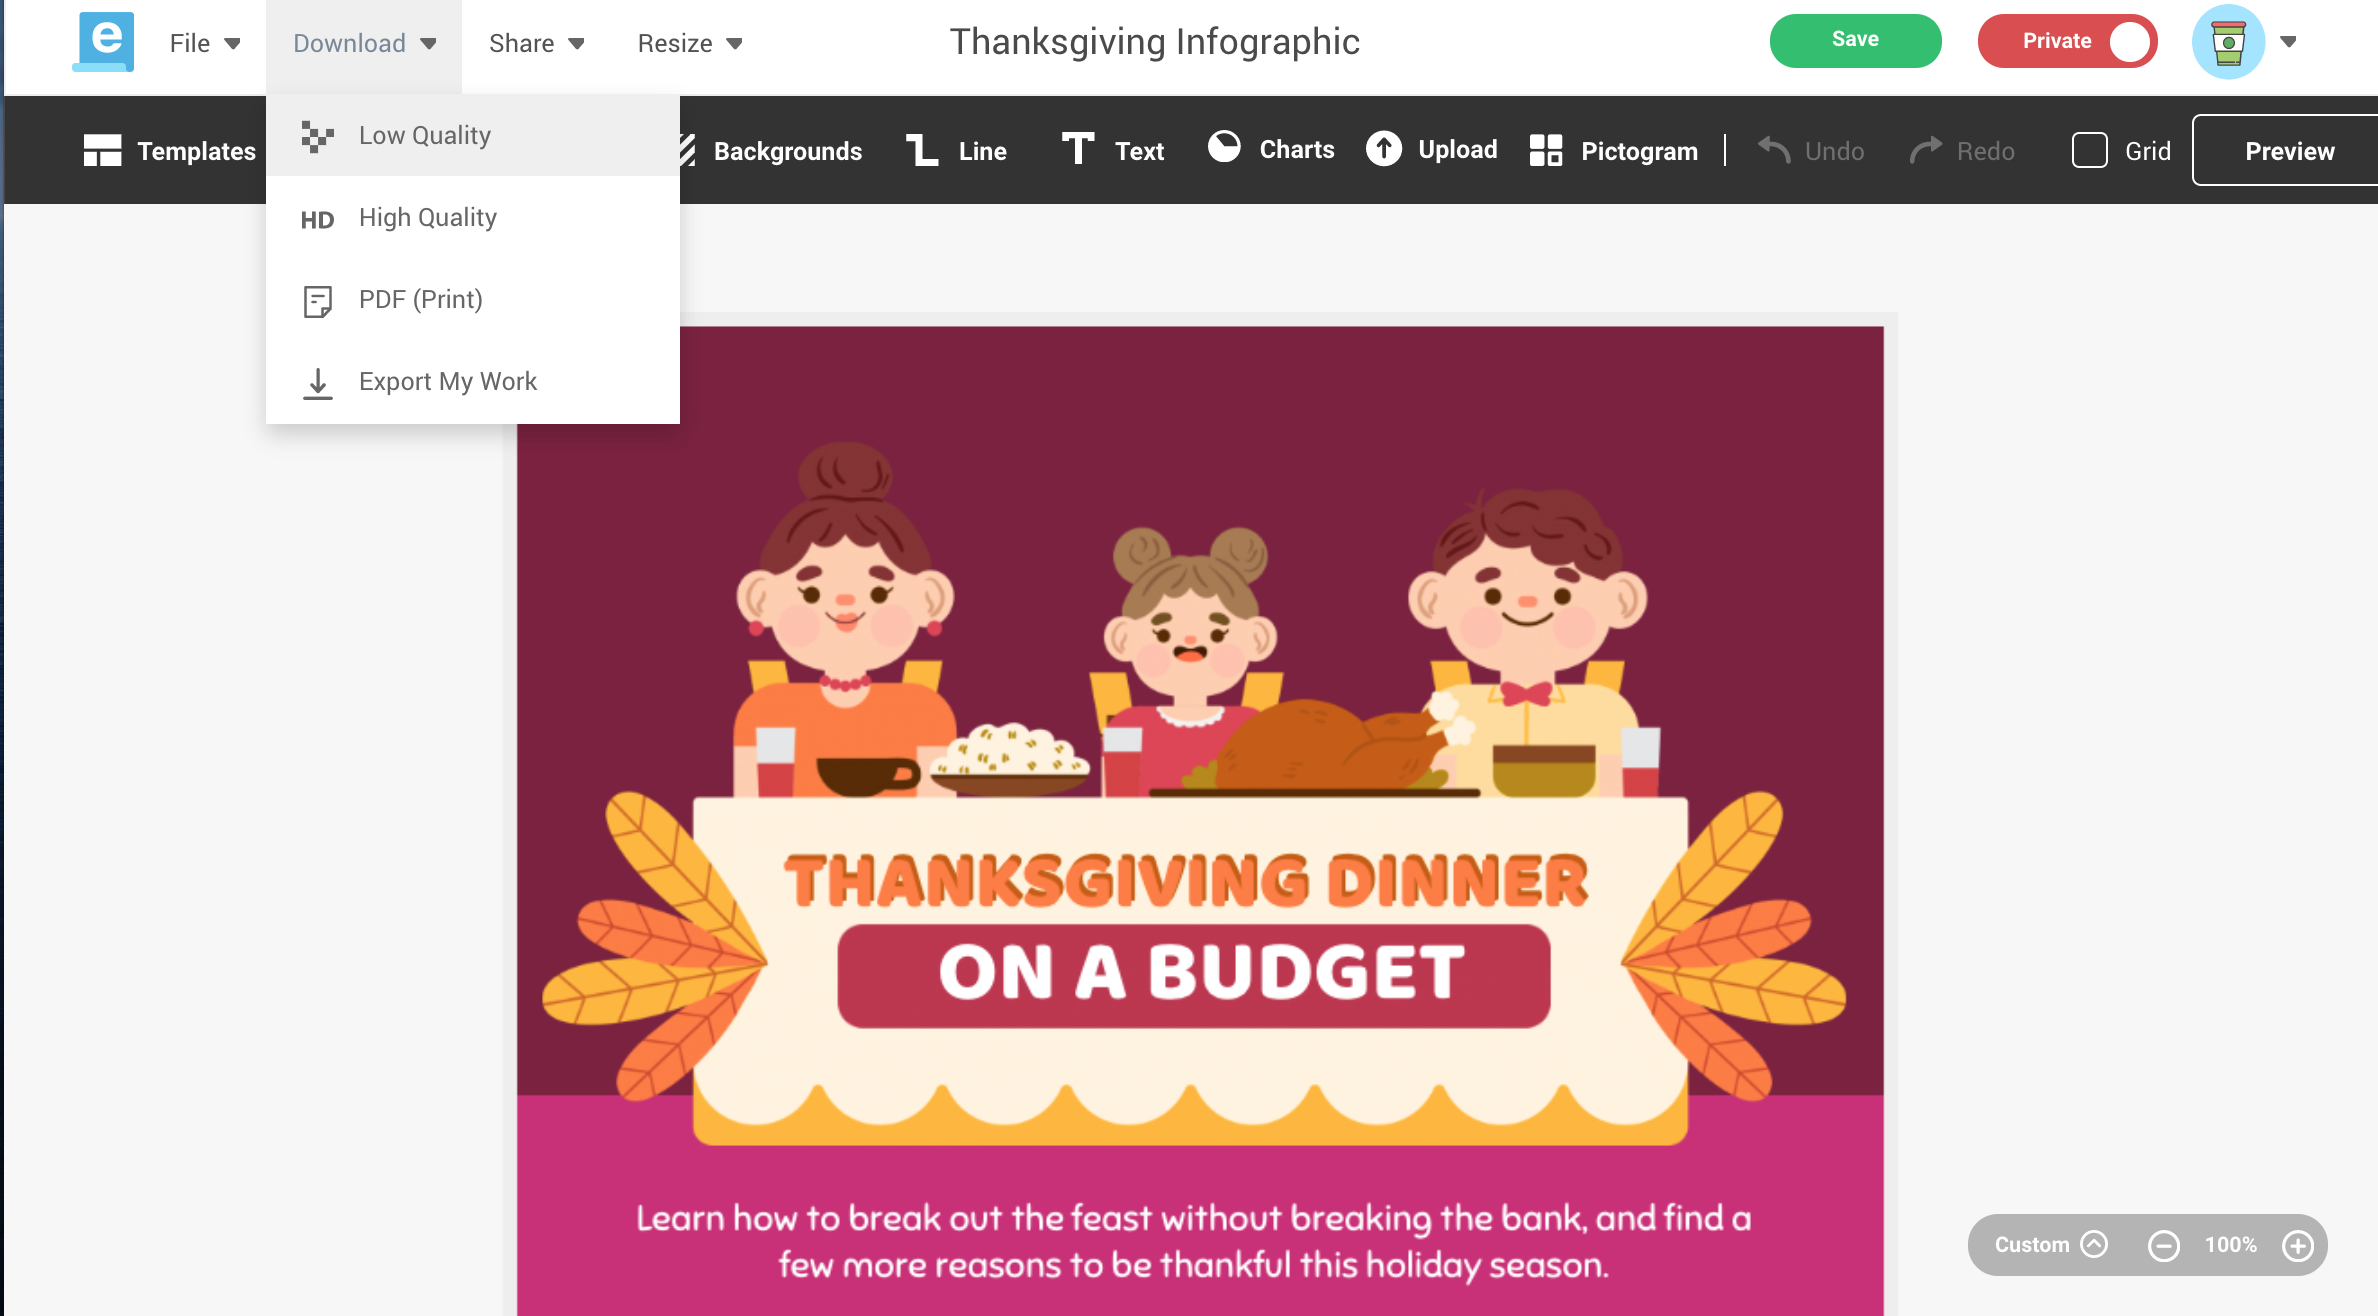
Low-quality download
- Quick social media image
- A rough draft / mockup
High-quality download
- For multiple uses
- If you’re planning to resize the image later
- For marketing materials
- You’re emailing the infographic
- You’re inserting it into an ebook or marketing material
- You’re printing it off immediately
If you’re sharing your infographics in class or social media followers:
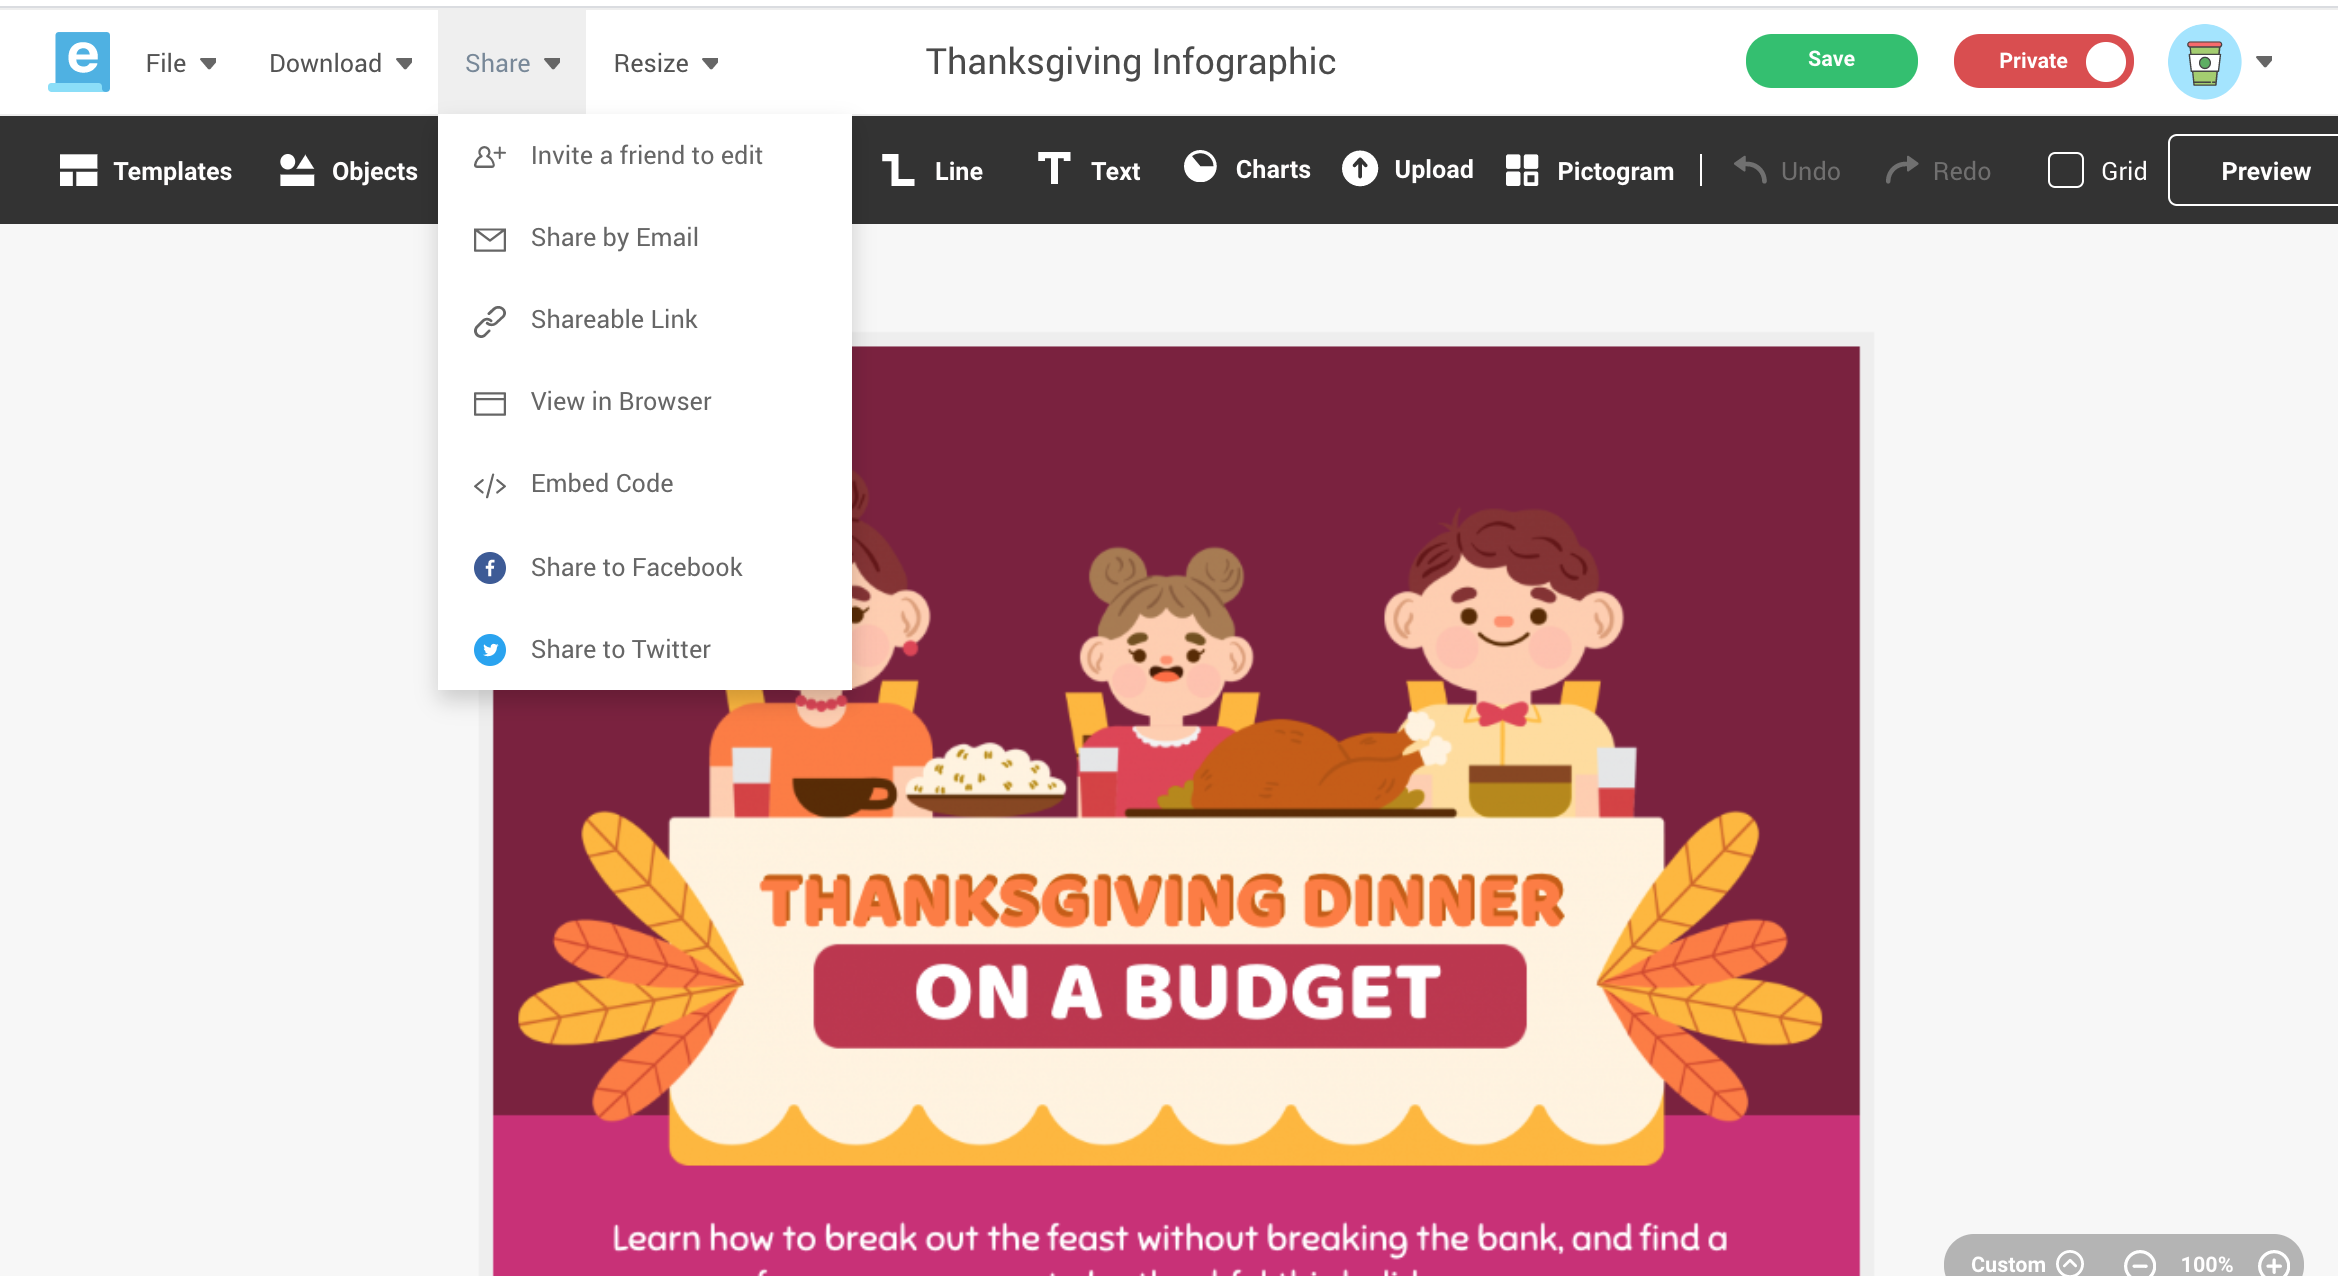
- Use the Embed Code feature and insert the code into the text window of your website’s post panel.
- Use the Shareable Link feature to draw people directly to your image.
If you are using infographics for group purposes, make sure to always:
- Share the link
- Mark it as public
Once you’ve downloaded, embedded, and/or shared your image, it’s time to sit back and enjoy your work.
If you’re using infographics for your business, make sure you use your infographic in:
- Emails
- Social media
- Marketing materials
- Infoproducts
- Internal operations
You can use the same infographic in virtually every area of your business.
There you have it! Hopefully, you find this complete infographic checklist helpful in streamlining your infographic creation process.
Recommended resources for infographic design creation:
- Step-by-Step Guide to Making Infographics from Scratch
- Infographics Gone Bad: What to Avoid in Your Design
- 4 Reasons Your Infographic Doesn’t Stand Out and How to Fix It
- How to Create Good, Relevant, and Useful Infographics
- Your 3-Step Checklist to Effective Infographic Design with Examples ( this is another good checklist to bookmark or download)
Pressed for time in making infographics from scratch?
Choose from our library of infographic templates or do a collab with our infographic design team!
*Editor’s Note: This post was originally published on December 20, 2016 and updated on March 13, 2020 for accuracy and comprehensiveness.